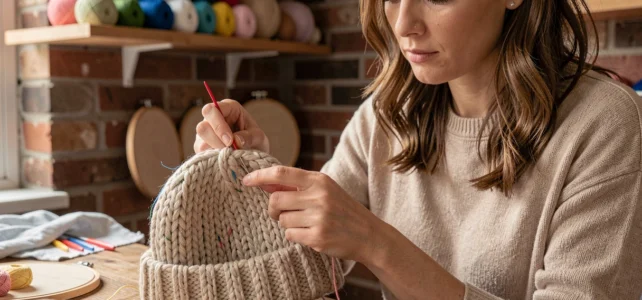
Embroidery on caps is based on a simple principle: a thread is mechanically stitched into a textile mesh using a needle controlled by a digital program or guided by hand. This customization technique stands out from printing or flocking due to its durability and three-dimensional effect.
Textile constraints of the cap: how the mesh affects embroidery
A cap is not a flat surface. Its knitted mesh structure (ribbed, jersey, or fleece) deforms under the tension of the embroidery hoop. This is the main challenge, and it conditions all subsequent choices.
The fabric of a cap is stretchable. When the needle passes through the mesh, it pushes the fibers apart instead of piercing them cleanly as on woven fabric. Without a stabilizer suitable for knitted mesh, the design contracts, buckles, or shifts after the hoop is removed.
There are two families of stabilizers useful here: the cut-away stabilizer, which remains under the embroidery and stiffens it, and the water-soluble stabilizer, placed on top of the cap to prevent the thread from sinking into the mesh. Combining the two yields the cleanest result. The water-soluble stabilizer dissolves in the first wash, leaving only the design on the surface.
Before starting to customize a cap with embroidery, the choice of the cap material deserves attention. Acrylic and thick cotton accept embroidery well. Very fine meshes or slippery synthetic materials complicate the hooping and increase the risk of visible perforation around the design.
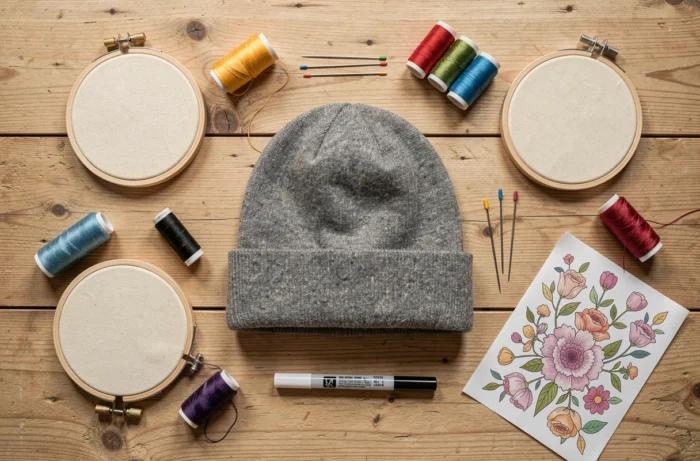
Choice of design and graphic adaptation for embroidered caps
A logo or visual that works on a t-shirt does not necessarily work on a cap. The embroiderable area rarely exceeds the size of a credit card. Designs that are too detailed, with gradients or fine lines, lose readability once scaled down.
Favor simple shapes, clear outlines, and solid colors. Embroidered text remains legible as long as a sans-serif font (like a stick font) and a sufficient letter height are used. Below one centimeter, embroidered letters become a compact block that is difficult to read.
Number of colors and stitch density
Each thread color requires a bobbin change, whether manual or automatic. Three to four colors are sufficient for a rich appearance without weighing down the embroidery. A design that is too dense stiffens the fabric and makes the cap uncomfortable to wear, especially in the frontal area.
The embroidery file (in DST, PES, or JEF format depending on the machine) must be prepared with digitizing software that allows for adjusting stitch density, color order, and pass direction. This digitizing work is key to a clean result: the same design can yield a mediocre or excellent outcome depending on the quality of its conversion into an embroidery file.
Hooping the cap: techniques and common mistakes
Hooping is the most delicate step. Since the cap is tubular, the upper layer (the one to be embroidered) must be isolated without pinching the lower layer in the hoop.
- Gently turn the cap inside out and slide a rigid cardboard or plate between the two layers to physically separate them
- Place the cut-away stabilizer under the area to be embroidered, then stretch everything in the hoop without excessively stretching the mesh
- Lay the water-soluble stabilizer on top, over the mesh, to create a smooth surface that the needle will pass through without snagging the fibers
- Check that the fabric does not form a fold in the hoop by running your finger over the entire stretched surface
A hoop that is too small forces the mesh to stretch, which distorts the design once the cap is released. Choosing a hoop slightly larger than the design provides a safety margin. On domestic machines, a medium-sized hoop is suitable for most cap designs.

Embroidery thread and needle: often overlooked parameters
Viscose embroidery thread (sometimes called rayon) offers a shiny and silky finish. Polyester thread withstands repeated washes and friction better. For a cap worn daily outdoors, polyester thread ensures better longevity of the design.
The needle should be a ballpoint, designed to push the mesh fibers apart rather than pierce them. A standard cutting-point needle damages the knitted mesh and creates visible holes around the embroidery stitches. Size 75/11 is suitable for most cotton or acrylic caps.
Thread tension and machine settings
On an embroidery machine, the upper thread tension should be slightly reduced compared to the standard setting for woven fabric. The mesh absorbs more thread, and too much tension pulls on the fabric and creates grooves.
Testing on a sample of similar mesh before embroidering the final cap avoids unpleasant surprises. This test also allows checking that the thread colors match the desired appearance on the cap’s shade.
Textile regulations and sustainability of customized embroidered caps
The technical specification CEN/TS 18272-1, published in August 2026, introduces a European framework for the circularity of textile products. This text requires considering durability, reparability, and recyclability from the design stage.
For embroidery on caps, this translates into concrete recommendations:
- Favor embroidery threads made from mono-material (pure polyester or pure cotton) to facilitate the recycling of the cap at the end of its life
- Avoid incompatible fiber blends between the cap and the thread, which complicate sorting and recovery
- Design motifs whose stitch density does not hinder disassembly or mechanical recycling of the textile
The choice of thread directly influences the recyclability of the finished cap. A 100% acrylic cap embroidered with polyester thread becomes a bi-material product, more difficult to recycle than a cap embroidered with thread of the same composition.
A carefully embroidered cap, on suitable mesh and with compatible materials, remains a durable accessory that retains its appearance after many washes. The most useful action is to systematically test on a sample before embroidering the final piece.