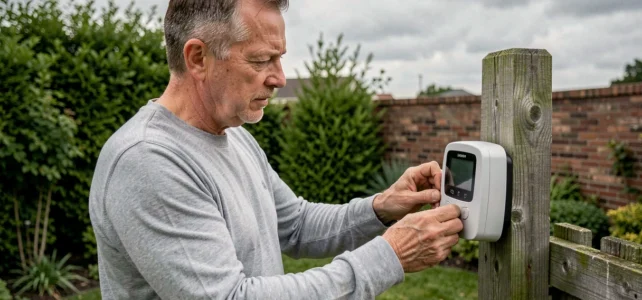
A home weather station measures temperature, humidity, atmospheric pressure, and sometimes wind or precipitation. Its data is only as good as its initial setup. A poorly positioned sensor or an uncalibrated barometer can produce discrepancies of several degrees or hectopascals compared to actual conditions, rendering local forecasts unusable.
Barometric correction: the adjustment that most users overlook
The pressure sensor integrated into a weather station measures absolute pressure, which corresponds to the exact altitude of your home. Weather reports and isobaric maps use relative pressure, adjusted to sea level. Without correction, your station displays a raw value that corresponds to no usable reference.
To obtain the correct value, you need to manually enter an offset in the station’s settings. The most reliable method is to record the sea level pressure indicated by Météo-France or a nearby airport, then adjust your station until it displays the same value. This offset remains stable as long as you do not move the device.
If you are looking to understand how to calibrate a weather station effectively, this barometric correction step is what transforms a decorative gadget into a reliable measuring tool.
A poorly calibrated barometer also skews the forecast icons. Most stations generate their pictograms (sun, clouds, rain) based on the barometric trend over a few hours. If the starting value is incorrect, the calculated trend is too, and the forecasts lose all relevance.
Positioning of outdoor sensors: applying professional criteria at home
A perfect software adjustment does not compensate for a poorly placed sensor. Amateur weather stations gain reliability when they adhere to the standards applied by Météo-France and the World Meteorological Organization.
Outdoor temperature and humidity
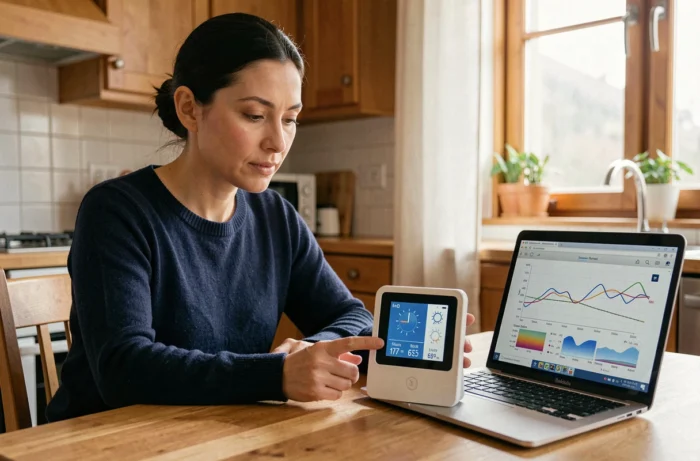
The temperature sensor should be installed at a height between 1.50 and 2 meters above a grass surface, never on a wall, a concrete balcony, or near ventilation. A wall radiates heat accumulated during the day and skews the measurement by several degrees, especially in the evening.
The shelter protecting the sensor must be naturally ventilated, oriented north in the northern hemisphere, to avoid direct sunlight. Louvered shelters (miniature Stevenson type) remain the reference, even for consumer-grade equipment.
Anemometer and rain gauge
The anemometer should be placed as high as possible, ideally ten meters above the ground. In practice, a clear roof or a mast fixed at the end of the garden constitutes an acceptable compromise. The clearance rule is simple: keep the sensor at least twice the height of any surrounding obstacles.
The rain gauge should be placed away from trees and rooftops to avoid runoff or shading effects. A position that is too sheltered underestimates precipitation, sometimes significantly.
- Temperature sensor: grass surface, ventilated shelter oriented north, between 1.50 and 2 meters high
- Anemometer: highest accessible point, clear of any obstacle within a radius of at least twice the height of surrounding structures
- Rain gauge: open area, away from walls, hedges, and roof overhangs
Synchronization of sensors and setting up the indoor console
Once the sensors are positioned, the radio link between the outdoor probe and the indoor console must be established. Most stations operate on the 433 MHz or 868 MHz band. During the first power-up, first insert the batteries into the outdoor sensor, then power the console. This order allows the base to automatically detect the sensor’s signal during its initialization phase.
If synchronization fails, check the distance between the two elements. Load-bearing walls, metal structures, and nearby electronic devices reduce the effective range of the signal. A repositioning of just a few meters is often enough to restore the connection.
Time, date, and time zone
Radio-controlled stations (DCF77 in Europe) capture a time signal transmitted in long waves. Reception can sometimes take several hours, especially during the day. At night, interference decreases, and synchronization occurs more easily. If your station does not receive the DCF77 signal, manual adjustment is still possible via the console menu.
Check that the time zone and display format (24h or 12h, degrees Celsius or Fahrenheit, hectopascals or millibars) match your preferences before confirming. These settings affect the readability of all displayed data.
Verification and calibration after installing the weather station
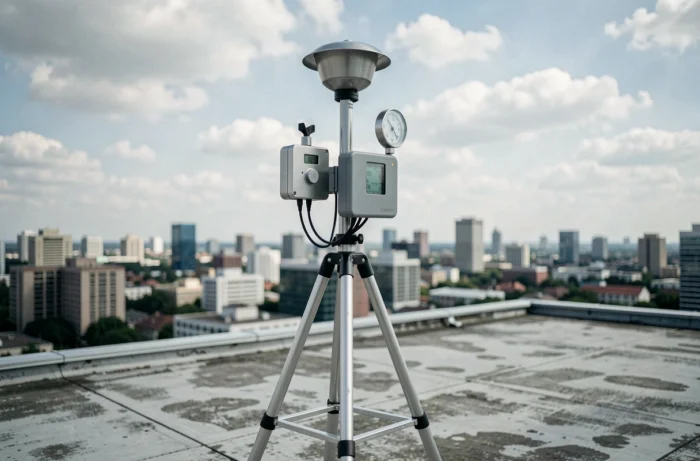
An initial setup does not guarantee lasting accuracy. After a few days of operation, compare your station’s readings with those from a local reference source (the nearest Météo-France station, data from a nearby airport). Focus the comparison on atmospheric pressure and temperature, the two measurements most sensitive to positioning errors.
- Recurring temperature discrepancy: check the sensor’s sun exposure and the shelter’s ventilation
- Constantly offset pressure: redo the barometric correction with an updated reference source
- Underestimated wind data: look for a recently added obstacle (newly grown hedge, nearby construction)
- Inconsistent rainfall data: clean the rain gauge funnel, often blocked by leaves or insects
Regular calibration, at least once per season, allows for the detection of gradual sensor drifts. Inexpensive temperature probes can lose accuracy after a few years of exposure to the elements, making replacement necessary.
The setup of a home weather station relies on three pillars: positioning the sensors according to professional standards, applying barometric correction suitable for your altitude, and periodic verification by comparison with reliable sources. These steps take less than an hour in total and transform the quality of the data displayed on your console.